An Easy Guide To Starting Your Very Own Blog

Looking to start a blog and sharing your wonderful ideas, experiences or recipes? Or do you wish to sell online? Then I may be able to help you out. Although I am a fairly new food blogger, I can share with you the results of the research I did before starting my own blog which will definitely help you save some valuable time and effort. Today you will be learning how to create your WordPress Blog hosted by Bluehost.
Disclaimer: Please note that I am an affiliate for Bluehost and I will earn a commission if you purchase through my referral link . I personally am using WordPress and Bluehost and recommend them because they have helped me create a beautiful blog.
Click here to start creating your own blog and follow the instructions below.
After reading a lot of articles on this topic, I came to the conclusion that Bluehost Web Hosting coupled with WordPress blogging software is by far one of the strongest blogging platforms available. Few reasons to choose Bluehost
- Bluehost is easy to use and offers 24*7 WordPress Support. They also have an extensive support library to guide you through common issues.
- You get a FREE domain for the first year.
- They also have the automatic WordPress install feature.
- Bluehost also has a 30 day money back guarantee.
- And last but not the least, Bluehost is actually recommended by WordPress.
How to start a WordPress blog on Bluehost:
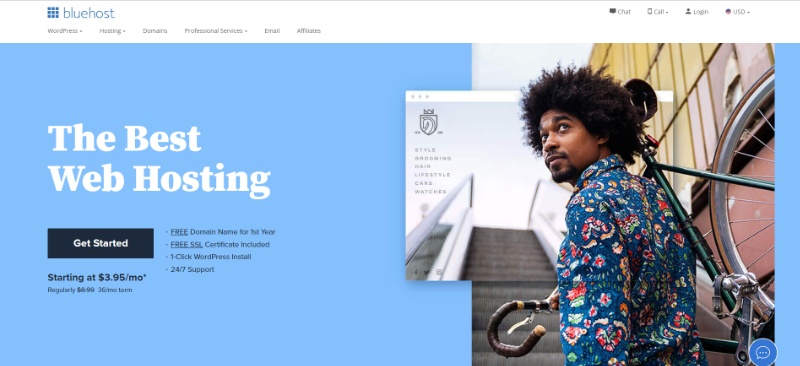
1. Go to the Bluehost website (Obviously!!!)
Hosting is like renting space to house your blog. Bluehost is easy to use and provides excellent customer service each time you face a problem. So it was the right choice for me! Click here to get started.

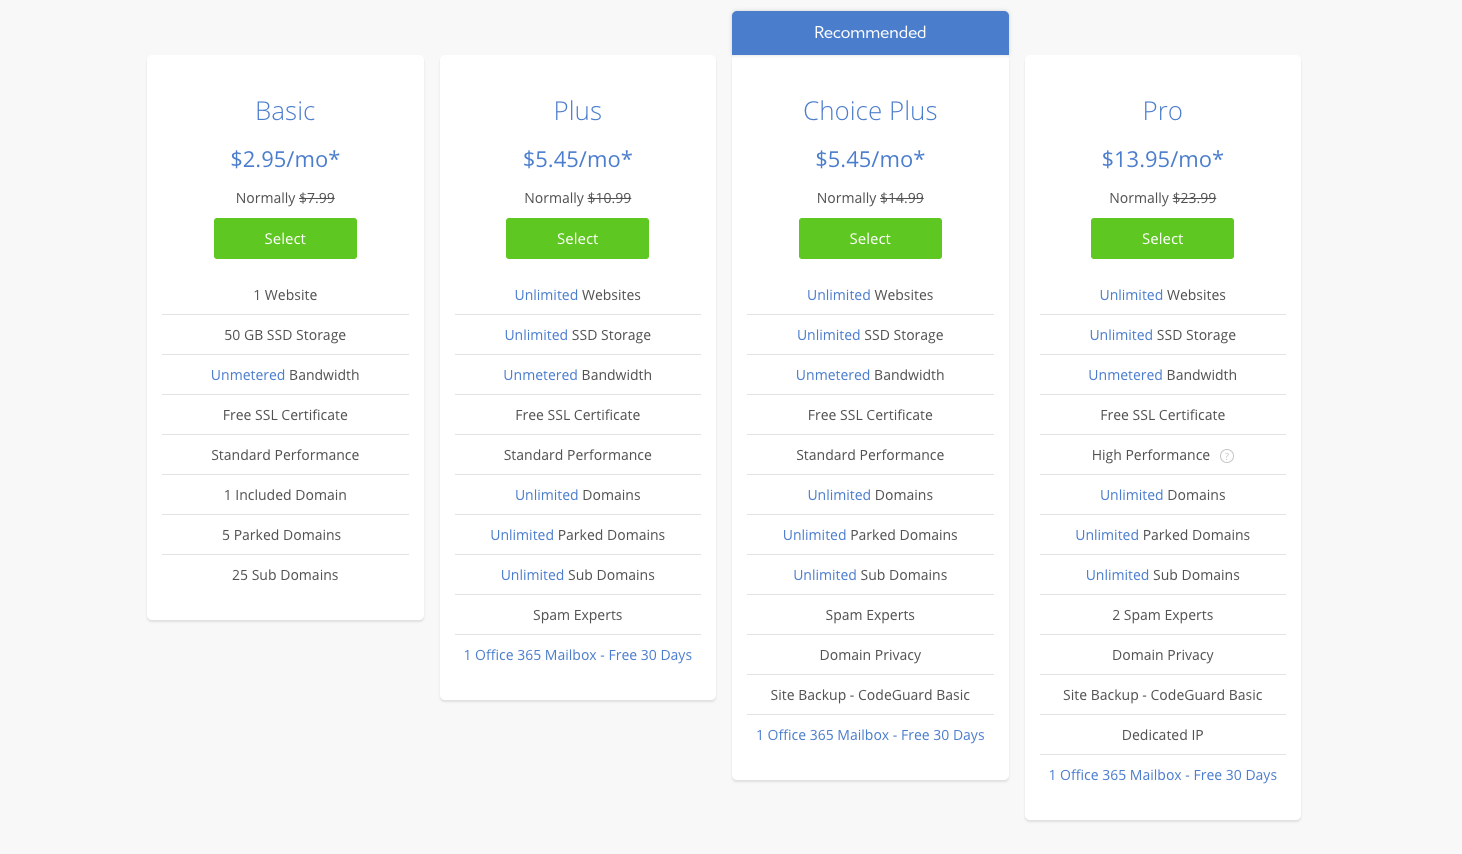
2. Choose your plan
Once you click on Get Started, you will be presented with four options. Choosing a plan will depend on your personal preference and how you are planning to run your blog or online business. Since I am a newcomer to blogging I selected the basic plan (as I required just 1 domain). In my opinion, a basic plan is what you need to start off. You can always change the plan at a later date and pay the difference.
3. Create a domain
Once you have selected your plan you will be taken to this page.
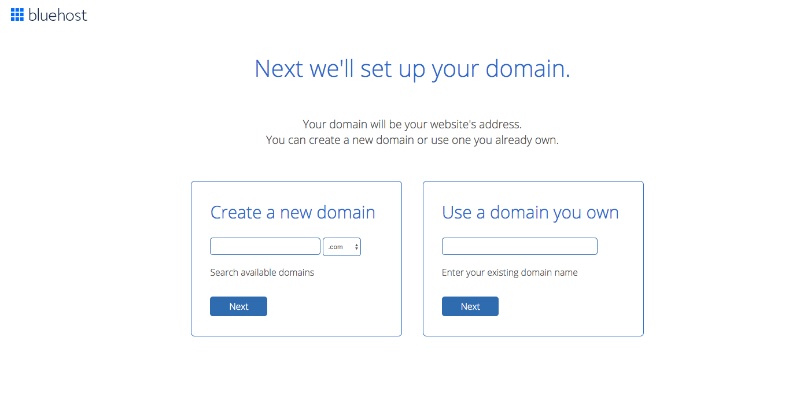
As is shown in the image above, you can either create a new domain directly through Bluehost or use a domain you already own. If you select the first option, you can get FREE domain for the first year as long as you buy 12 months worth of Bluehost web hosting. Think of a name which matches the content of your blog as also is easy to spell and pronounce. You don’t want people making mistakes when typing/saying the name of your blog. You can discuss with family and friends to see what sounds good. But ultimately select something which you love the most and hope it’s not already taken :-).
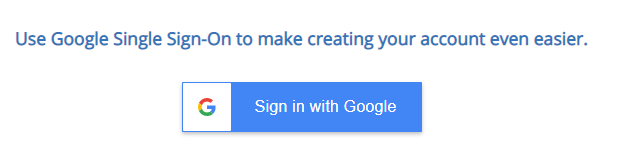
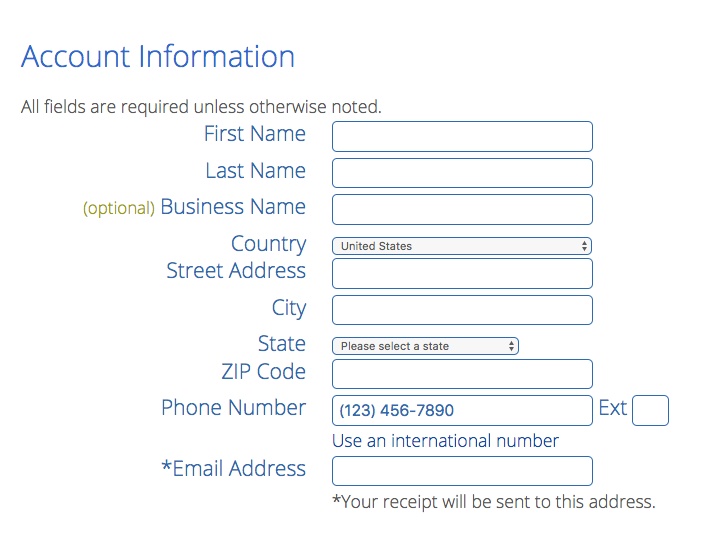
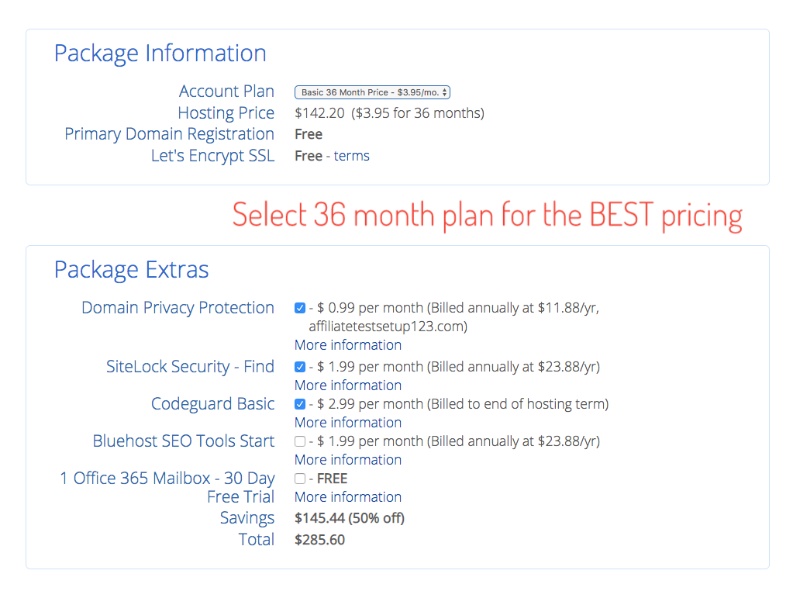
4. Create your account and select your package.
This part is pretty self explanatory. You can sign in with your Google account and proceed or you can create a Bluehost email account. You also need to select your package information. A 36 month subscription proves to be cheaper than one for 12 months. I have purchased a 36 month plan for my blog. But it totally depends on you, which one you select. Out of the other features, you should at least select the domain privacy protection add-on to keep your personal information safe.
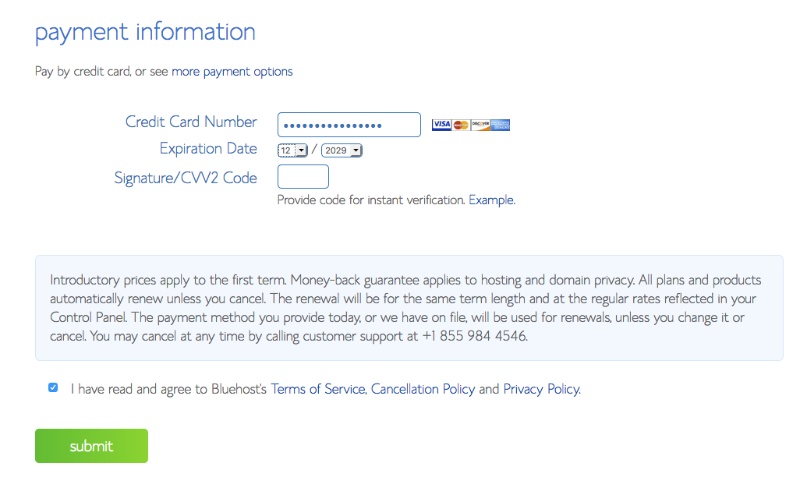
5. Payment
Pay using one of the available options.
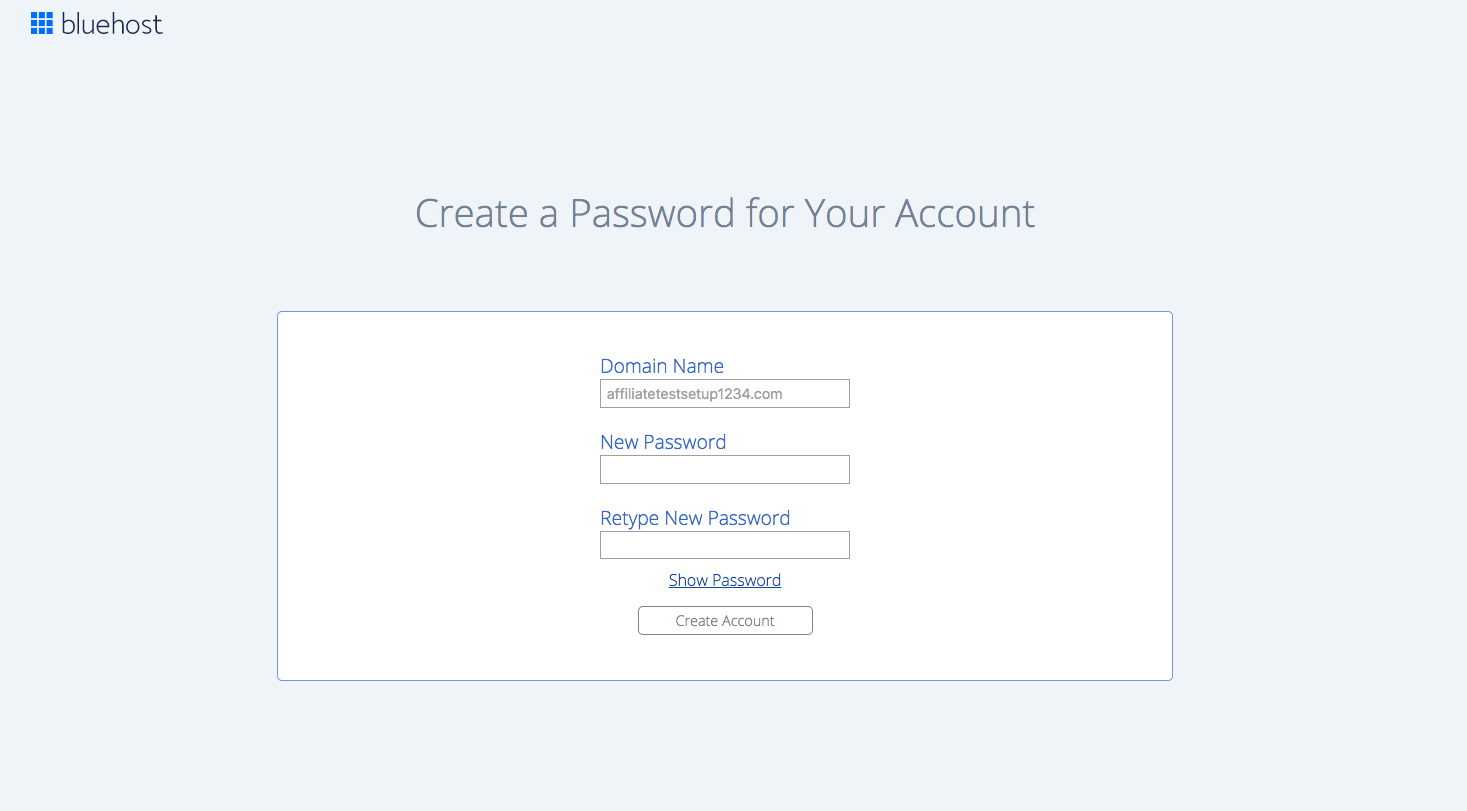
6. Create a Password
Create your own password or let Bluehost create a strong password for you.
7. Login to your account
Login to Bluehost. If prompted to choose themes, you can skip this step at this stage.
8. Verify your email address. (Bluehost will send a verification email to your registered email address.)
9. Go to your bluehost account
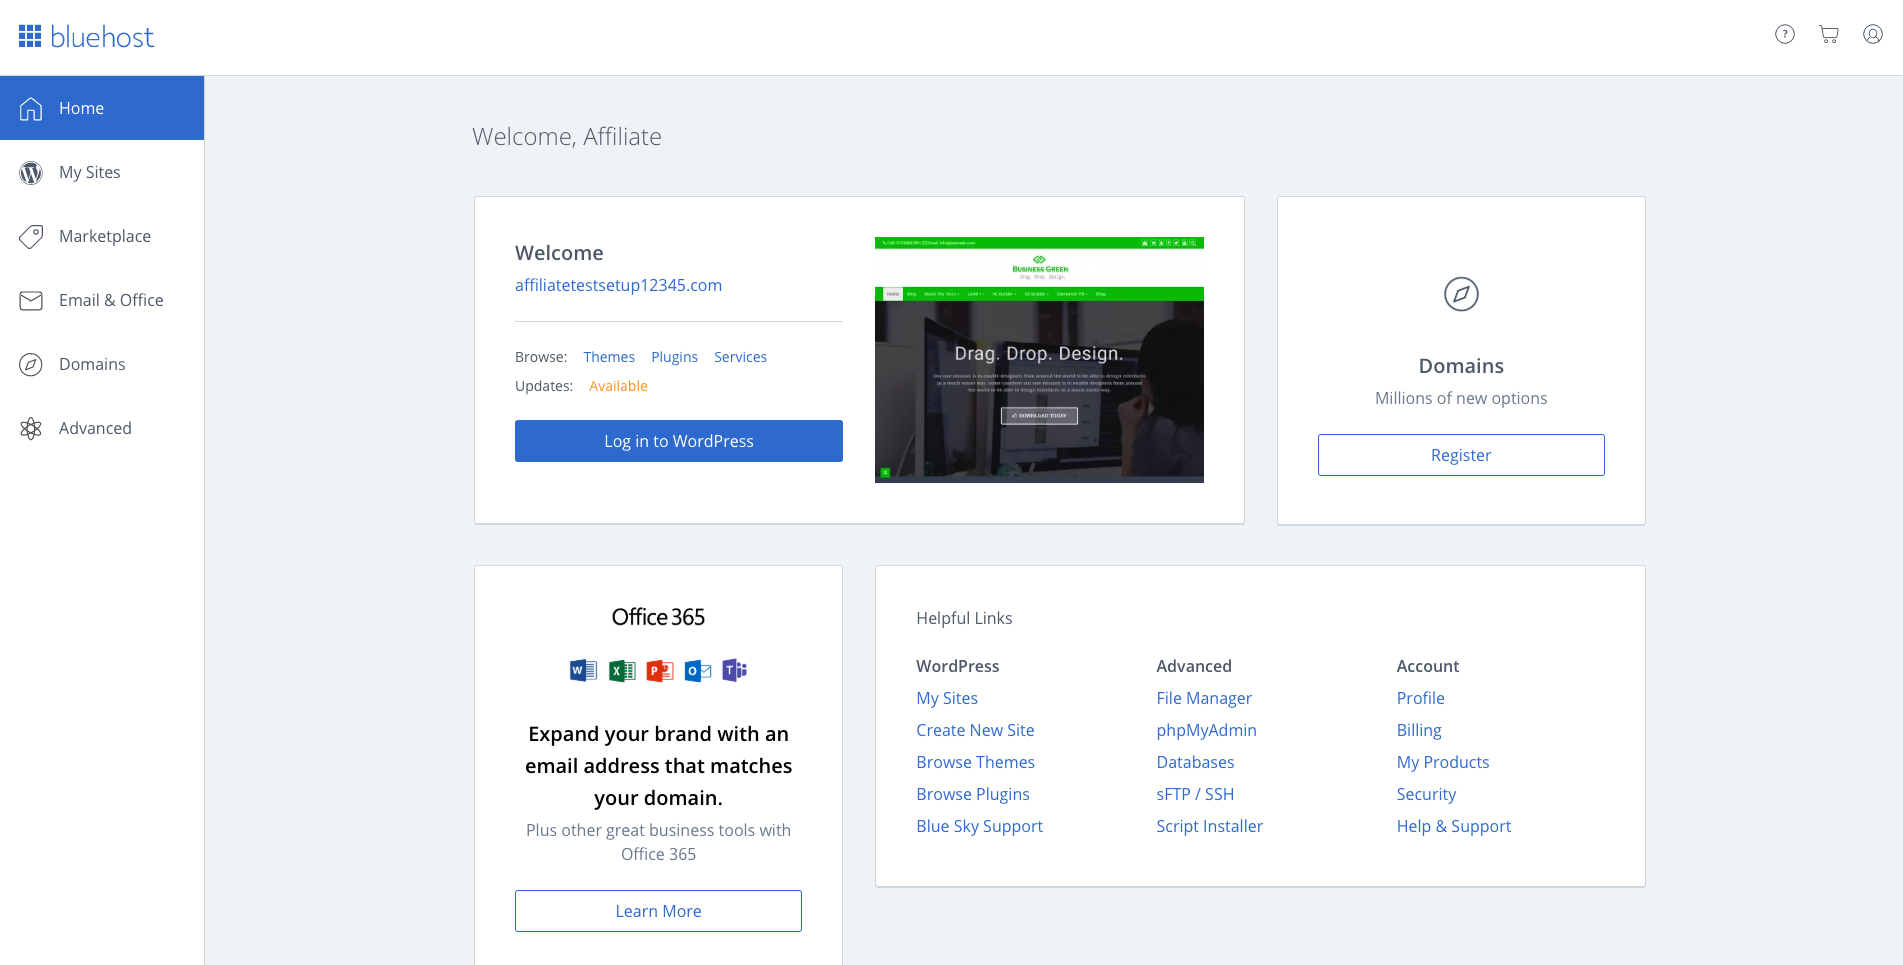
10. Log in to WordPress
Click on the log in to WordPress link.
11. Pick your theme
Hurray!! You now have your own WordPress blog. WordPress offers a host of free and paid themes. My blog is using the free version of Kale theme. You can choose what suits you best. If you are fine with spending some extra bucks then go for a paid theme. If not, the free themes are very good to use as a starting point.
So there you are!!!! You can now start building your blog, depending on the theme you have chosen. Happy Blogging 🙂
12. Email Marketing
If you are looking for a way to send emails or newsletters to your subscribers, I recommend Moosend.
I have used Moosend to create opt-in forms as well as send out newsletters. They have tutorials to guide you through the entire set up process and have a 24*5 chat support.